Ionic G2 FFPE to DNA Kit Protocol DOCUMENT NUMBER: CG-00036 DOCUMENT REVISION: BCG-00036 Rev A Ionic G2 FFPE to DNA Kit Protocol For Research Use Only. Not for use in diagnostic procedures. Table of Contents Legal Notice 3 Patents 3 Trademarks 3 Revision History 4 Safety Recommendations 5 Kit Contents 6 Protocol at a Glance 8 Lysate Preparation 8 DNA Purification 8 Sample Requirements 9 Lysis Procedure 10 Preparation of Lysates 10 RNase Treatment 11 Purification 12 Prepare Buffer Reservoir 12 Setup Ionic Purification Run 12 Collect DNA Extracts 15 Troubleshooting 17 Ionic Purification System Feedback 17 Recovery of Non-Initiated Lysate 17 Save System Logs 19 Technical Assistance 21 Revision History REVISION NOTES A Initial release. Kit Contents Table 1: Contents provided in the Ionic® FFPE to DNA Kit Container Item Name Description Volume Quantity per Kit -20⁰C Reagents Box Lysis Buffer 1 Lysis Buffer 1 1.35 mL 6 -20⁰C Reagents Box RNase RNase A Reagent 120 μL 1 -20⁰C Reagents Box Proteinase K Proteinase K Reagent 810 μL 1 -20⁰C Reagents Box Sample Buffer Blank Sample Buffer 1.6 mL 1 RT Reagents Box Lysis Buffer 2 Lysis Buffer 2 3.8 mL 1 RT Reagents Box 1 - Extraction Buffer Extraction Buffer 12 mL 1 RT Reagents Box 2 - Anodic Buffer Anodic Buffer 12 mL 1 RT Reagents Box 3 - Separation Buffer Separation Buffer 18 mL 1 RT Reagents Box 4 - Neutralization Buffer Neutralization Buffer 12 mL 1 RT Reagents Box 5 - Cathodic Buffer Cathodic Buffer 12 mL 1 RT Reagents Box Mineral Oil Mineral Oil 15 mL 1 Fluidic Chip Set Box Ionic Fluidic Chip Fluidic Chips N/A 6 Table 2: Reagents provided by the user. User-supplied Reagents For Lysate Preparation For Purification FFPE sections or scrolls ✓ Table 3: Equipment provided by the user. User-supplied Equipment (or equivalent) For Lysate Preparation For Purification Razors/scalpels (if using slides) ✓ 12-column reservoir (Agilent 204365-100) ✓ P200 multichannel pipette ✓ P200 single channel pipette ✓ ✓ P20 single channel pipette ✓ Microcentrifuge ✓ Programmable ThermoMixer ✓ Vortex mixer (adjustable speed) ✓ ✓ Table 4: Labware provided by the user. User-supplied Labware (or equivalent) For Lysate Preparation For Purification DNA LoBind Tube, 1.5 mL (Eppendorf 22431021) ✓ ✓ Optional: DNA LoBind Tube, 2.0 mL (Eppendorf 22431048) ✓ Optional: DNA LoBind Plate, 96-well (Eppendorf 951032000) ✓ Protocol at a Glance Lysate Preparation 1. Centrifuge FFPE tissue sample tubes for 2 minutes. 2. Add 300 μL of mineral oil. 3. Add 165 μL of Lysis Mix 1. 4. Incubate samples on ThermoMixer: 65°C for 5 mins at 1000 rpm 56°C for 1 hour at 1000 rpm 70°C for 8 hours at 1000 rpm Hold at 8°C 5. Centrifuge lysate tubes for 5 minutes. 6. Transfer 155 μL of lysate. 7. Add 65 μL of Lysis Mix 2. DNA Purification 1. Prepare Purification Buffer Reservoir. 2. Place Ionic Fluidic Chip onto instrument. 3. Load Purification Buffers and prime Ionic Fluidic Chip. 4. Add 200 μL of each lysate to the chip. 5. Start purification run (~70 minutes). 6. Collect ~50 μL of each extract. Sample Requirements This protocol is intended for the extraction and purification of DNA from up to eight Formalin-Fixed Paraffin-Embedded (FFPE) tissue samples in parallel and is optimized to recover the maximum amount of DNA from a minimal amount of tissue. Bionano recommends a single 10 μm section of FFPE tissue (scroll or slide-mounted) with an area of 50–300 mm 2 for most downstream applications. For this protocol, a 10 μm section of FFPE tissue with dimensions of 1 inch x 1 inch (25.4 mm x 25.4 mm) and a mass of < 12 mg is typical. The optimal amount of starting material will be informed by the FFPE tissue thickness, cross-sectional area, and cellularity. If a 10 μm section yields <1 μg of DNA with traditional kits (bead- or column-based), increasing the input FFPE tissue amount for DNA purification on the Ionic Purification System is acceptable. In such cases, this protocol can accommodate FFPE tissue sections totaling 30 μm in thickness (e.g., 3 x 10 μm or 6 x 5 μm). Care must be taken to avoid overloading since adding too much input FFPE tissue can lead to lower than expected DNA recovery (see Figure 1 ). A small pilot study is helpful in defining optimal input conditions as some FFPE tissue samples present challenges to extraction and purification requiring optimization beyond the standard protocol. Contact support@bionano.com for guidance on processing samples that do not meet the above requirements. Figure 1. Impact of overloading Lysis Procedure Preparation of Lysates 1. Transfer each FFPE tissue section into a 1.5 mL LoBind Eppendorf tube. 2. Centrifuge tubes containing FFPE tissue sections at maximum speed (>10,000x g) for 2 minutes to move tissue to the bottom of the tube. Hold at room temperature. 3. Place one tube of Lysis Buffer 1 on the ThermoMixer and incubate at 56°C for 10 minutes at 1000 rpm. If a precipitate is present after incubation, place tube back on ThermoMixer until buffer is clear. 4. Vortex the Lysis Buffer 1 tube for 3 seconds, pulse spin and immediately proceed to the next step. Hold at room temperature. 5. Remove Proteinase K from the freezer, flick three times and pulse spin. Hold on ice. 6. To prepare Lysis Mix 1, add 135 μL of Proteinase K directly to the Lysis Buffer 1 tube. Vortex for 3 seconds, and pulse spin. Hold at room temperature. 7. Add 300 μL of mineral oil to each sample tube from Step 2. 8. Using a P200 pipette, add 165 μL of prepared Lysis Mix 1 to each sample tube. NOTE: If a precipitate is present in Lysis Mix 1, heat at 56°C until the solution is clear before adding to tubes. Do not vortex sample tube containing mineral oil and Lysis Mix 1. 9. Place sample tubes into a ThermoMixer and incubate using a program with the following steps: Incubate at 65°C for 5 minutes at 1000 rpm. Incubate at 56°C for 1 hour at 1000 rpm. Incubate at 70°C for 8 hours at 1000 rpm. Hold at 8°C. 10. After the program completes, remove tubes from the ThermoMixer and hold on the benchtop for 5 minutes. Set ThermoMixer to 20°C in preparation of the RNase treatment below. NOTE: If upper mineral oil layer is solidified after incubation in Step 10, place at 20°C or higher until mineral oil is no longer solid. 11. Centrifuge tubes at maximum speed (>10,000x g) for 5 minutes. NOTE: The mixture will separate into two phases with the nucleic acid-containing lysate in the lower phase. 12. Using a P200 pipette with the tip touching the bottom of the tube, slowly aspirate and transfer 155 μL of lysate from the lower phase of each tube into new microtubes avoiding any pelleted material that may be present. Hold lysate tubes on ice. NOTE: A minimal amount (~5-10 μL) of mineral oil may be aspirated during transfer of the lysate but will not impact the purification process. To preserve DNA integrity, proceed immediately to the next step. Alternatively, store lysate tubes at -20°C for up to seven days. Frozen lysates should be thawed on ice prior to proceeding to RNase treatment. RNase Treatment 1. Remove RNase from the freezer, flick three times and pulse spin. Hold on ice. 2. To prepare Lysis Mix 2, combine 630 μL of Lysis Buffer 2 and 20 μL of RNase in a 1.5 mL tube. Invert Lysis Mix 2 ten times to mix and pulse spin. Hold on ice. 3. Add 65 μL of Lysis Mix 2 to each lysate tube from Step 12 of the Preparation of Lysates section above while on ice. 4. Invert lysate tubes ten times, pulse spin and incubate on a ThermoMixer at 20°C for 10 minutes at 300 rpm. 5. Vortex lysate tubes for 10 full seconds and pulse spin. Hold on ice for at least 5 minutes and proceed directly to Purification. Purification Prepare Buffer Reservoir 1. Label a 12-channel reservoir as shown in Figure 2 skipping every other column to prevent purification buffer cross-contamination. Figure 2. Reservoir column labels 2. Add purification buffers to each column according to Table 5. Table 5. Reservoir buffers and volumes Reservoir Column Buffer from Kit Volume 11 - Extraction Buffer 2.0 mL 22 - Anodic Buffer 2.0 mL 33 - Separation Buffer 3.0 mL 44 - Neutralization Buffer 2.0 mL 55 - Cathodic Buffer 2.0 mL Setup Ionic Purification Run 1. From the Ionic Purification System start screen, press Start then select a User profile for the run. 2. Press the G2 FFPE to DNA button. The instrument cover will open. 3. When prompted, remove a fluidic chip from its packaging, handle it only by the side skirting, and place it on the instrument stage with the barcode on the right as shown in Figure 3. Gently apply pressure to all four corners of the fluidic chip simultaneously to confirm that the chip is fully seated on the stage. Press the Arrow on the right side of the screen to continue. NOTE: Remove fluidic chip from its packaging and place chip directly on the instrument stage to minimize accumulation of static electricity. Avoid contact with the top and bottom surfaces of the fluidics chip. Figure 3. Proper handling and placement orientation of an Ionic fluidic chip. 4. Enter Run Name, Chip ID, and Reagent Lot and press the Arrow on the right side of the screen to continue. NOTES: Chip ID is located on the label on the top surface of the Ionic fluidic chip. Include both the P/N and L/N for the chip: Reagent Lot number is located on the G2 FFPE to DNA Kit room temperature box label. Barcodes can be scanned into the software using a handheld barcode reader connected to the instrument USB port. 5. Using a P200 multichannel pipette and the proper pipetting technique shown in Figure 4, add the appropriate volume of each purification buffer as shown on the screen (also see Figure 5 ), working left to right (1 to 5), to the fluidic chip. NOTE: Do not remove the plastic film from the sample wells at this point as the fluidic chip will not prime correctly without these wells being covered. Figure 4. Proper (left) and improper (right) pipetting techniques for fluidic chip buffer wells. NOTE: Correct technique is important to ensure the buffers prime correctly into the fluidic chip. Visually inspect tips to ensure each contains the same volume prior to adding to the fluidic chip. Rest pipette tips on the top right of the wells and dispense against the left wall no more than halfway into the well with the pipette at an angle of ~45° relative to the chip surface. Smoothly dispense at a steady speed to the first stop only then remove tips from the well by dragging the tips against the top right wall of the wells. Always avoid contact with the bottom of the wells when dispensing. Change tips after each dispense. Figure 5. G2 FFPE To DNA purification buffer dispense volumes. NOTE: The Separation Buffer should be added using two pipette transfers with fresh tips for each transfer. 6. After loading purification buffers press the Arrow on the right side of the screen to continue. The instrument cover will close and the fluidic chip will prime. NOTE: Priming takes approximately 4 minutes. IMPORTANT: Samples should be loaded within 10 minutes of priming completion. 7. During fluidic chip priming, vortex lysates for 5 seconds and pulse spin for 10 seconds. Hold on ice. 8. When priming is complete press the Arrow on the right side of the screen to continue. Press OK to confirm samples have been vortexed. The instrument cover will open. 9. Enter sample naming information (See Ionic User Manual for additional information on sample naming options) and press the Arrow on the right side of the screen to continue. Confirm run information is correct and press the Arrow on the right side of the screen to continue. 10. While firmly holding the chip by the side skirt, carefully remove the plastic film from the sample wells using the pull tab and press OK to continue ( Figure 6 ). Figure 6. Remove the plastic film from the sample wells. 11. Using a P200 pipette and keeping the tip in contact with the bottom of the tube, slowly aspirate and transfer 200 μL of lysate to each sample well. NOTE: Insert tip no more than halfway into the well at the position noted in Figure 7 and smoothly dispense at a steady speed to the first stop only. Figure 7. Proper Sample Well lysate loading positioning. 12. Press Begin Run. The instrument cover will close and the purification process will begin. NOTE: The G2 FFPE to DNA purification run will proceed for approximately 70 minutes and the instrument will indicate when the run has completed. IMPORTANT: extracts should be collected within one hour upon completion. Collect DNA Extracts 1. Once the purification run has completed, click the Arrow on the right side of the screen to continue. The instrument cover will open. 2. Using a P200 pipette set to 60 μL, aspirate each purified DNA extract (~50 μL) by placing the tip at the bottom of the left wall of each Extraction Buffer well and transfer to a LoBind microcentrifuge tube or LoBind 96-well microplate. NOTE: As demonstrated in Figure 7, the Extraction Buffer well has a s
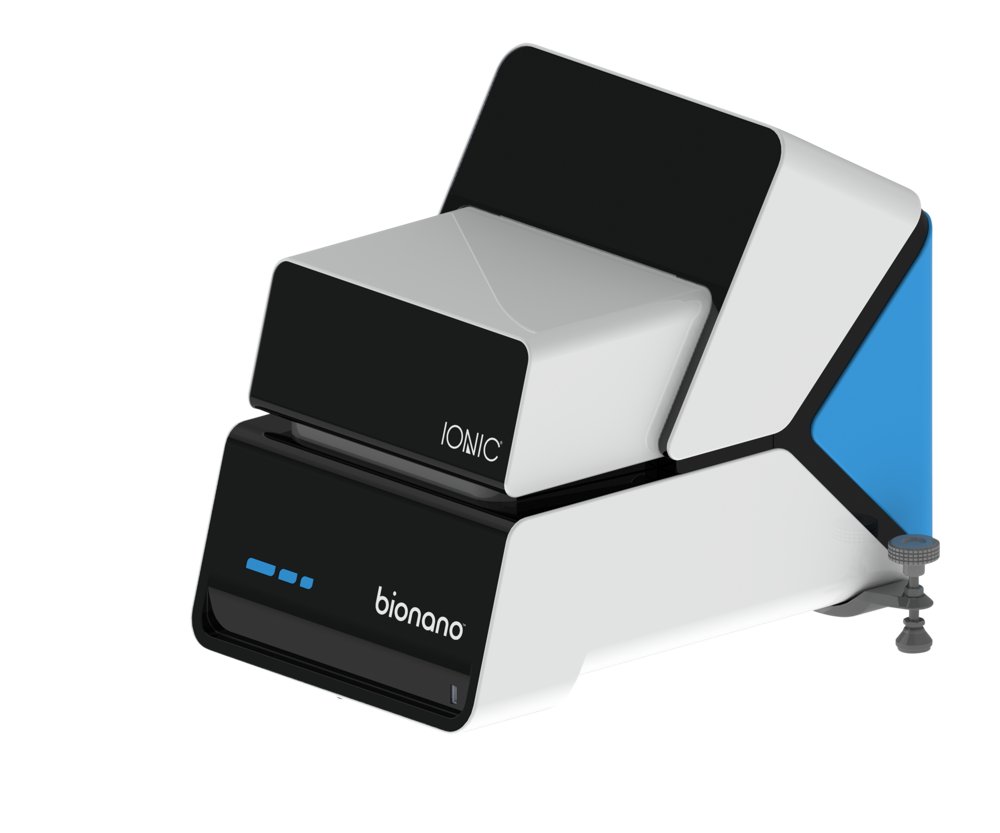
A superior automated approach to DNA and RNA isolation for FFPE samples. Isolate High-Quality Nucleic Acids from Challenging Samples The Ionic system uses isotachophoresis (ITP) to isolate, purify, and concentrate genomic DNA and RNA from cells, tissue, and FFPE samples with Ionic G2 chemistry. DNA and RNA samples prepared by the system require just a few minutes of hands-on time per sample. Simplify Your Nucleic Acid Purification Using the Fully Automated Workflow The Ionic system outperforms most nucleic acid extraction and purification methods: - Higher nucleic acid yields: No sample loss associated with binding nucleic acids to, or stripping from, fixed surfaces - Simple, automated workflows: No columns or beads and no repetitive washing - Reduced nucleic acid fragmentation: No harsh high-salt buffers or organic solvents Next Generation Sample Preparation System with the Easy-to-use Ionic System Chip By applying an electric field across the length of the Ionic Chip microchannels, the Ionic system separates and concentrates nucleic acid between buffers with higher and lower mobilities. Impurities fall behind the low mobility buffer and are separated from target nucleic acids. As target nucleic acids pass through the channel, an integrated sensor stops the current once nucleic acids reach the extraction well. The workflow requires no binding, stripping, or washing from fixed surfaces for higher yields, higher quality nucleic acids, and ultimately, better data for your research. - No organic solvents - No harsh, high-salt buffers - No system programming - No beads or repetitive washing - No pumps, valves, or other moving parts A Superior Approach to Column-Based Purification Isotachophoresis (ITP) separates and concentrates charged molecules in solution solely based on their electrophoretic mobility. Biological samples are gently lysed and added to the Ionic Fluidic Chip. An electric field is then applied to the chip and the nucleic acid is isolated in its natural, native form. The nucleic acid is not denatured or dehydrated, and there's no binding to, or stripping from, fixed surfaces. The result is a higher yield of pure nucleic acid that is less fragmented and free from bead or wash buffer contamination. Superior Nucleic Acid Recoveries from Cells and FFPE Samples Extract Up to 4.5x More Nucleic Acid with Ionic G2 A vast majority of clinical samples used in oncology research are stored as FFPE tissues, which often contain degraded or fragmented nucleic acid. Conventional extraction methods are labor intensive and can further damage nucleic acid during the extraction and purification process. The Ionic system simplifies and accelerates nucleic acid purification, resulting in higher yields of higher quality DNA. Simple, Automated Workflow Minimizes Hands-on Time and Reduces Errors A simplified workflow minimizes opportunities for material loss and errors. The FFPE protocols greatly simplify the processing to 3 minutes per sample and enables working directly from scrolls. Nucleic Acid Purification Workflow Comparison The Isotachophoresis workflow consolidates and eliminates multiple steps compared to column-based or bead-based methods.
CATEGORY
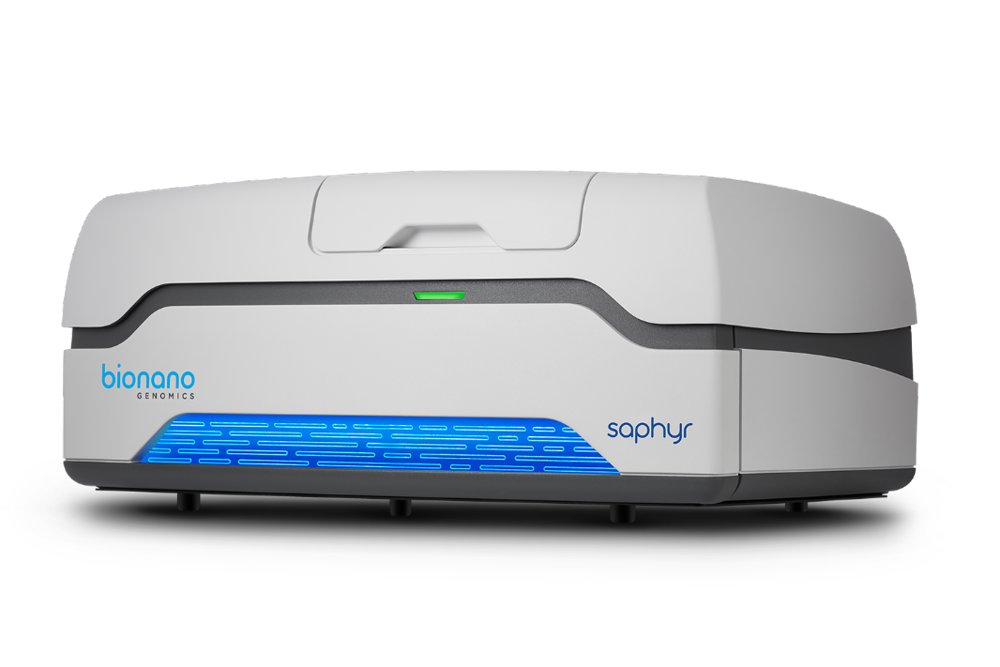
Reveal genome-wide structural variation with the Saphyr™ optical genome mapping system. Achieve Unparalleled Structural Variant Detection. Routinely detect all classes of structural variants down to 500 base pair (bp) resolution and 5% variant allele frequency (VAF) with optical genome mapping (OGM) using the Saphyr™ system. Saphyr™ is the most powerful structural variant detection tool available, detecting genomic variants commonly missed by next-generation sequencing (NGS) technologies and conventional cytogenetic techniques. Empower your lab with advanced SV detection using optical genome mapping. The Saphyr™ system provides optical genome mapping of ultra-high molecular weight (UHMW) DNA in its native state, from molecules 150 kbp to multi-megabase pairs in length. In as little as three days, complete the entire workflow from sample to structural variation call using the Bionano sample preparation kits, Saphyr™ system, and software. Achieve broad, unbiased genomic coverage with flexible data collection. The genomic coverage achieved with the Saphyr™ system is flexible and allows for the detection of heterozygous variants or rarer variants found in mosaic samples and heterogeneous tumors. Collect 100X coverage of a human genome in as little as six hours. See deeper and rarer variants by simply extending the data collection time on Saphyr™ at no additional consumables cost. Achieve 400X coverage in 24 hours and provide SV detection down to 5% VAF. Further extend runs to see even lower VAF. Experience seamless integration and workflow using the Saphyr™ Chip® consumable and Saphyr™ system. The Saphyr Chips utilize hundreds of thousands of massively parallel nanochannels that linearize long, labeled DNA molecules, allowing the Saphyr instrument to directly image your samples. Sample loading on the Saphyr Chip is fast and easy. Pipet up to three samples into individual flow cells on the chip. Load up to two chips onto the Saphyr instrument per run for a maximum throughput of six samples per run. The Saphyr instrument and chips leverage machine learning-based adaptive loading and automatic run optimization to ensure walk-away scanning and the fastest possible throughput for runs. The Saphyr™ Chip® consumable: The Saphyr Chips utilize hundreds of thousands of massively parallel nanochannels that linearize long, labeled DNA molecules, allowing the Saphyr instrument to directly image your samples. Sample loading on the Saphyr Chip is fast and easy. Pipet up to three samples into individual flow cells on the chip. Load up to two chips onto the Saphyr instrument per run for a maximum throughput of six samples per run.
CATEGORY
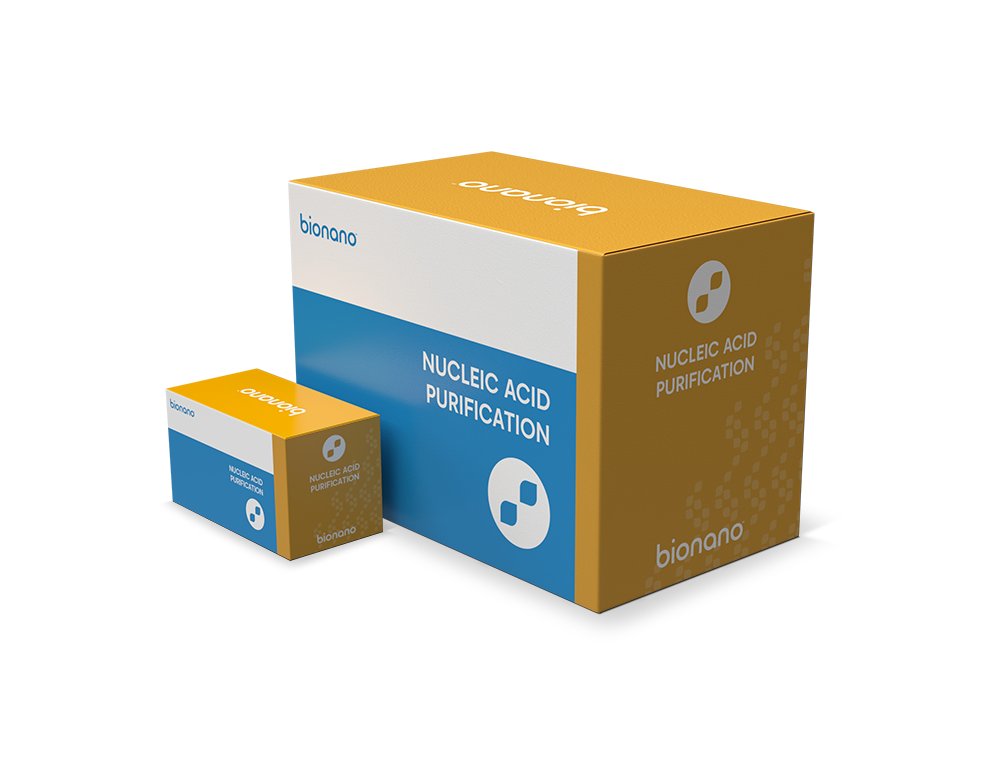
Simple, Automated Genomic DNA and RNA Isolation Downstream analytical assays require the highest level of yield and purity to ensure the best representation of your sample. Bionano’s Nucleic Acid Purification Kits provide a simple and efficient method for extracting DNA or RNA from even the most precious and challenging samples. Once the desired sample has been prepped using the corresponding Nucleic Acid Purification Kit, simply load the sample onto the Ionic. Ionic® Purification Kits for FFPE and Related Samples Bionano provides a suite of nucleic acid purification sample prep kits for simple and automated isolation of genomic DNA and RNA from a range of valuable sample types. Once the desired nucleic acid has been isolated, you can go straight into the next step of your workflow. Achieve nucleic acid extraction from valuable and low- yielding samples Using the Ionic purification kits, you can achieve a high level of isolation and even sample recovery, with traditionally challenging samples. Using 50 – 300 mm 2 cross sections of sample, successfully isolate the desired nucleic acid in approximately 75 minutes with minimal hands-on time. Maximize purification yield and quality Using the Ionic purification kits, recover roughly 4.5x more DNA from FFPE sample over traditional column methods. Bionano’s Ionic purification kits with G2 chemistry produce greater purity and concentration than leading isolation methods for increased confidence in your assays. Streamline your workflow by utilizing the power of automation Using the Ionic system with Bionano’s Ionic purification kits to enhance throughput, a single operator can isolate nucleic acid from up to 48 samples a day. This system requires just a few minutes of hands-on time per sample, minimizing user error and improving reliability. The Ionic system simplifies and accelerates nucleic acid purification, resulting in higher yields of higher quality DNA. Increase Efficiency with a Simplified FFPE Workflow 3 Minutes Hands-on Time per Chip with Fewer Manual Steps The Ionic®Purification System builds efficiency in your experimental workflow in addition to the advantages in quantity and quality of nucleic acids extracted. Extract eight samples with minimal hands-on time and no separate steps required to de-paraffinize or de-crosslink samples.
CATEGORY
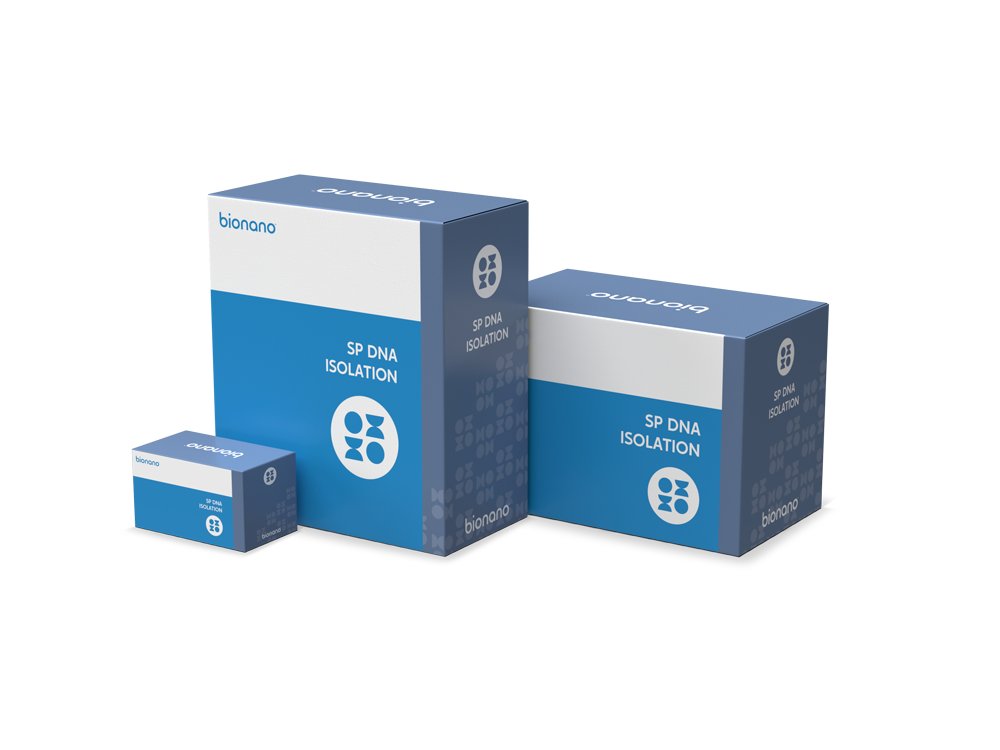
The Bionano solution phase (SP) technology allows for the isolation of DNA fragments that can achieve 1 Mbp in length and routinely yields average fragments of 230 kbp. Putting this in perspective, short read sequencing produces reads of up to 150 bp while leading high accuracy long-read sequencing provides read lengths up to 25kb. The latest Bionano SP DNA prep kits are capable of purifying UHMW DNA from tissue and tumor, bone marrow aspirate (BMA), blood and cells as well as plant and animal tissue. This sample diversity makes OGM suitable for use in a broad range of studies and applications in oncology, constitutional genetic disease, bioprocessing and general research. Bionano’s SP kits require 1.5 10^6 cells (blood, cell lines and BMA) or 10 – 30 mg of tissue as input. UHMW DNA is isolated in about four hours using a lyse, bind, and wash process, and novel paramagnetic disks. Our Generation 2 Kits, with robust enhancements and optimizations to our sample preparation OGM workflow allows you to achieve sample-to-answer in just 3 to 4 days!
CATEGORY
